Delicious and Fluffy White Bread Recipe at Home
Welcome to my White Bread Plus recipe, where I will guide you through creating the perfect loaf of homemade white bread. There’s nothing better than the smell of freshly baked bread filling your home, and with this recipe, you can easily achieve that.
Baking bread is one of the most satisfying things you can do in the kitchen, and it’s a skill that once mastered, can be used for a lifetime. There’s something magical about taking simple ingredients like flour, yeast, and water, and turning them into a delicious, warm loaf of bread.
This recipe is perfect for those who are new to bread baking, as well as seasoned bakers looking to try something new. With just a few ingredients and simple steps, you can have a beautiful, homemade loaf of bread that’s perfect for sandwiches, toast, or just enjoying on its own.
So, roll up your sleeves, get your ingredients ready, and let’s get started on making the best white bread you’ve ever had.
Why You’ll Love This Recipe
Let me tell you why you’ll fall in love with this White Bread Plus Recipe. First of all, who doesn’t like freshly baked bread? There’s nothing quite like the aroma of warm bread filling your home. This recipe is perfect for those who want to try their hand at bread-making but don’t have a lot of experience. It’s an easy recipe that yields delicious results.
But this recipe isn’t just any white bread recipe. It’s a White Bread Plus recipe that takes things to the next level. What makes it Plus? Well, it’s the addition of a few key ingredients that give the bread a unique flavor and texture. Aunt Jane’s Krazy Mixed Up Salt is one of those ingredients. It’s a seasoning blend that adds a little something extra to the bread. Trust me, you’ll want to try it.
Another reason why you’ll love this recipe is that it’s versatile. You can use it to make sandwich bread, toast, or even french toast. The possibilities are endless. Plus, the recipe makes two loaves, so you’ll have plenty to go around. You can even freeze one loaf for later.
Lastly, this recipe is a great way to impress your friends and family. Homemade bread always has a special place in people’s hearts. Imagine serving warm, freshly baked bread at your next family gathering or dinner party. Your guests will be impressed, and you’ll feel proud of what you’ve accomplished.
In conclusion, this White Bread Plus recipe is easy to make, delicious, versatile, and impressive. Give it a try, and you’ll see why it’s a recipe worth keeping in your collection.
Ingredient List
Here are the ingredients you’ll need to make this white bread plus recipe:
Dry Ingredients:
- 4 cups bread flour
- 3 tablespoons granulated sugar
- 1 tablespoon salt
- 1 package active dry yeast (2 1/4 teaspoons)
Wet Ingredients:
- 2 cups warm water (105-115 degrees F)
- 1/4 cup melted Crisco
- 1 egg, beaten
Optional:
- 1 tablespoon Aunt Jane’s Krazy Mixed Up Salt (for a tasty seasoning)
Note: If you have a bread machine, you can add all the ingredients to the machine and skip the hands-on kneading.
The Recipe How-To
Step 1: Activate the Yeast
In a small bowl, combine 1 tablespoon of granulated sugar and 1 tablespoon of dry yeast. Add 1 cup of warm water (between 105-115 degrees) and let it sit for 5 minutes until it becomes frothy. This step is crucial to make sure that the yeast is alive and will help your bread rise.
Step 2: Mix the Dough
In a separate large bowl, whisk together 4 cups of bread flour, 3 tablespoons of sugar, and 1 1/4 teaspoons of salt. Add the frothy yeast mixture, 1 beaten egg, and 2 cups of warm water. Mix everything together with a wooden spoon until you have a shaggy dough.
Step 3: Knead the Dough
Dust your work surface with flour and turn the dough out onto it. Knead the dough for about 10-15 minutes until it becomes smooth and elastic. You can also use a stand mixer with a dough hook for this step if you have one.
Step 4: First Rise
Place the dough in a greased bowl and cover it with a damp towel or plastic wrap. Let it rise in a warm place for 1-2 hours or until it has doubled in size.
Step 5: Second Rise
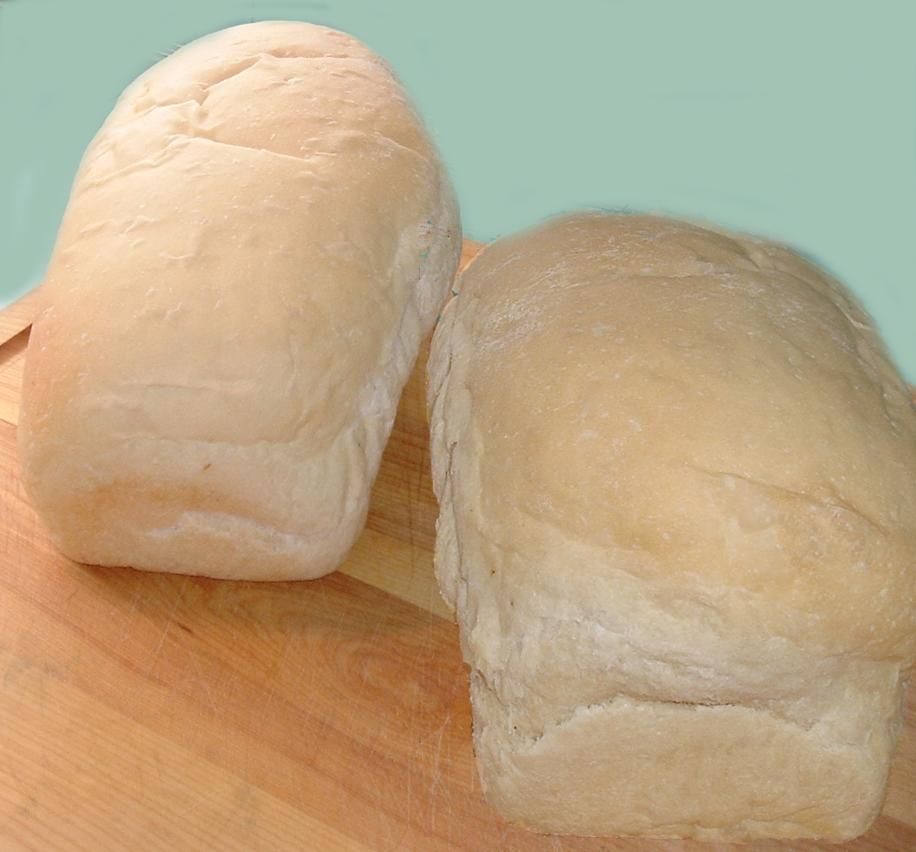
Punch the dough down and divide it into 2 equal pieces. Shape each piece into a loaf and place them in greased 9×5 inch loaf pans. Cover again with a damp towel or plastic wrap and let them rise for another 30-45 minutes.
Step 6: Bake
Preheat your oven to 350°F. Brush the tops of the loaves with 1 beaten egg and bake for 30-35 minutes or until the crust is golden brown and the bottom of the loaf sounds hollow when tapped.
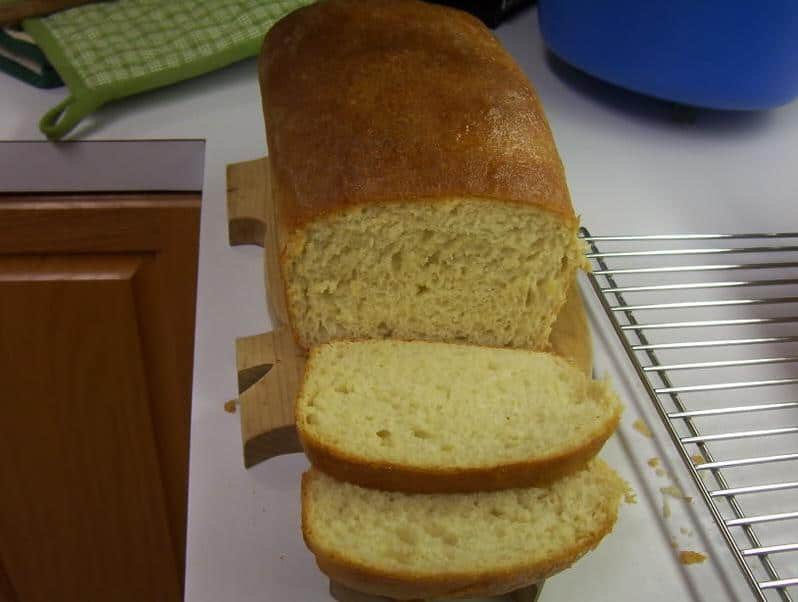
Step 7: Cool and Enjoy
Remove the bread from the oven and let it cool in the pan for 10 minutes before transferring it to a wire rack to cool completely. Slice and serve with butter or jam. Enjoy your homemade white bread plus recipe!
Substitutions and Variations
Bread-making is an art that allows for endless possibilities in terms of ingredients and flavors. Here are some substitutions and variations you can try with this White Bread Plus recipe:
– Flour: The recipe calls for bread flour, but you can substitute with all-purpose flour or even whole wheat flour for a nuttier flavor and denser texture. Keep in mind that whole wheat flour requires more moisture, so adjust the liquid accordingly.
– Sugar: This recipe uses granulated sugar, but you can use honey, maple syrup or brown sugar for a richer flavor. Just make sure to dissolve the sweetener in the warm water before adding to the flour mixture.
– Salt: Aunt Jane’s Krazy Mixed Up Salt is the recommended type of salt for this recipe, but you can use kosher salt or sea salt instead. Remember that different types of salt have different levels of salinity, so adjust the amount accordingly.
– Yeast: This recipe calls for active dry yeast, but you can use instant yeast or fresh yeast instead. Just remember that the rising time may vary depending on the type of yeast used.
– Add-ins: This recipe can be customized with various add-ins such as herbs, spices, cheese, nuts, or dried fruits. Mix these in with the flour mixture before adding the liquid.
Experimenting with different ingredients will help you discover your favorite flavor combinations and make the recipe your own.
Serving and Pairing
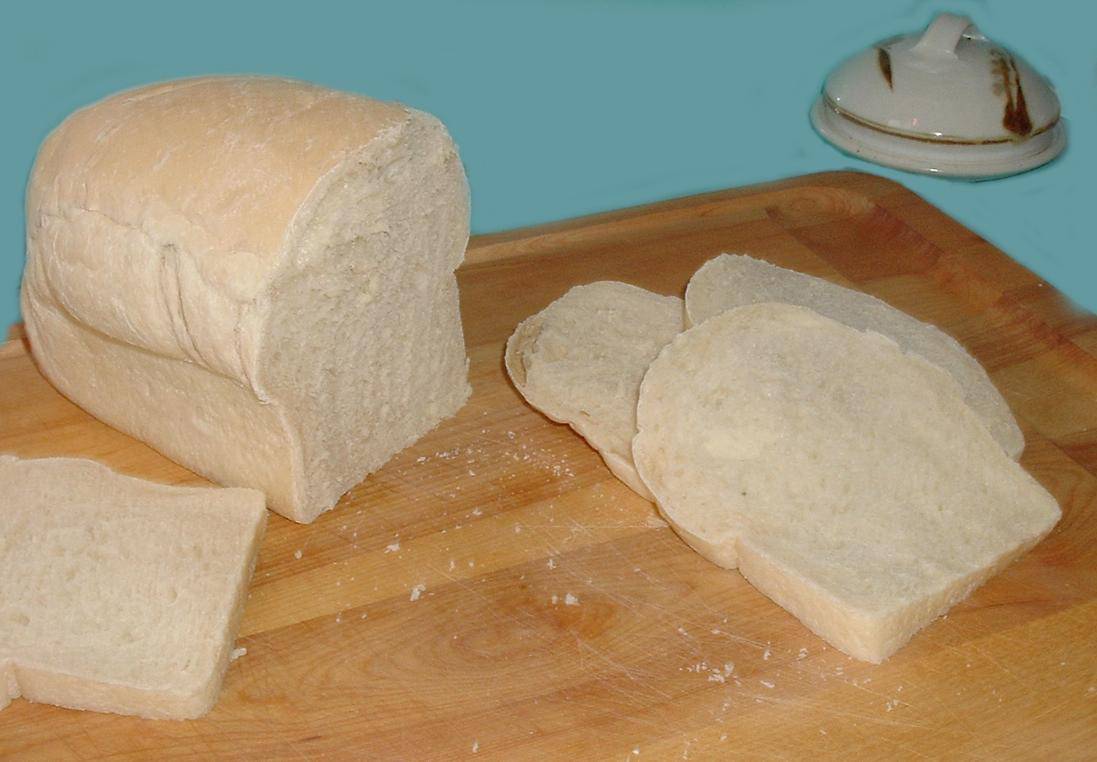
There are countless ways to enjoy this delicious white bread plus recipe. You can slice it up and enjoy it plain or toasted, or use it as the perfect base for your favorite sandwich. I personally love to use it for classic PB&J sandwiches, grilled cheese, or even a BLT.
The bread has a soft and fluffy texture, making it perfect for dipping into soups or stews, or serving alongside a hearty bowl of chili. You can also use it to mop up sauces or gravies, or slice it up to make croutons for salads.
For a sweet treat, try serving the bread with a dollop of your favorite jam or honey. You can also use it as a base for French toast or bread pudding.
When it comes to pairing this bread with drinks, you can’t go wrong with a tall glass of ice-cold milk. It’s also great with a hot cup of tea or coffee, or even a cold beer.
Overall, this white bread plus recipe is incredibly versatile and can be enjoyed in countless ways. Whether you’re looking for a quick snack or a hearty meal, this bread is sure to satisfy.
Make-Ahead, Storing and Reheating
Once you have made this delicious White Bread Plus recipe, you may want to know how to store it properly so that it stays fresh for longer. Luckily, this bread is easy to store and reheat, so you can enjoy it for several days.
To store the bread, let it cool down completely, then wrap it tightly in plastic wrap or aluminum foil. You can also put it in a resealable plastic bag. Make sure to remove all the air from the bag before sealing it. The bread can be stored at room temperature for up to three days, or in the refrigerator for up to one week.
If you want to freeze the bread, wrap it tightly in plastic wrap and then in aluminum foil. Label the package with the date and freeze for up to three months. To thaw the bread, remove it from the freezer and let it defrost at room temperature for a few hours. Once it’s defrosted, you can reheat it in the oven or toaster oven for a few minutes to revive its freshness.
When reheating the bread, you can either use the oven or the toaster oven. Preheat the oven to 350°F (175°C), wrap the bread in aluminum foil, and heat it for about 10-15 minutes. Alternatively, you can slice the bread and toast it in a toaster oven for a few minutes until it’s crispy on the outside.
By following these simple tips, you can enjoy the White Bread Plus recipe for days to come, whether you’re having it for breakfast, lunch or dinner.
Tips for Perfect Results
Here are some tips to achieve the perfect white bread plus recipe:
First, it’s important to use the right flour. I recommend using bread flour, which has a higher protein content than all-purpose flour. This helps to create a chewier texture and a better rise. Be sure to measure the flour properly, using a spoon to scoop it into the measuring cup and then leveling it off with a knife.
Next, make sure the water temperature is just right. Too hot and you’ll kill the yeast, too cold and it won’t activate. The ideal temperature is between 105-115 degrees Fahrenheit. You can use a kitchen thermometer to check the temperature, or if you don’t have one, the water should feel warm but not hot to the touch.
When adding the yeast, be sure to follow the instructions carefully. Use the amount specified in the recipe, and make sure to activate it before adding it to the flour mixture. This can be done by mixing the yeast with a small amount of warm water and sugar, then letting it sit for a few minutes until it becomes frothy.
Kneading the dough is also important for achieving a good rise and texture. You can knead by hand or use a bread machine with a dough setting. The dough should be smooth, elastic, and not too sticky. If it’s too dry, add a little more water, and if it’s too wet, add a little more flour.
Finally, when it comes to baking, make sure to preheat the oven to the correct temperature, and use a baking stone or sheet to help the bread cook evenly. You can also brush the top of the bread with melted butter or egg wash to create a shiny crust. And don’t forget to let the bread cool completely before slicing into it, as this will help it retain its moisture and prevent it from becoming too crumbly.
With these tips, you’ll be able to create a delicious and perfectly textured white bread plus recipe every time.
Bottom Line
In conclusion, the White Bread Plus recipe is an easy and delicious way to satisfy your bread cravings. With its simple ingredients and straightforward instructions, even novice bakers can create a homemade loaf that is sure to impress. Plus, the versatility of this recipe allows for endless variations and substitutions to suit your personal taste preferences. Whether you enjoy it as toast for breakfast, as a sandwich for lunch, or as a side for dinner, this bread is sure to become a staple in your kitchen. So why not give this recipe a try and experience the joy of homemade bread for yourself? Trust me, your taste buds will thank you.
White Bread Plus Recipe

My first bread recipe (from a 50’s version of Joy of Cooking)and still my favorite. The family won’t let me in to holiday gatherings without an ample supply (like half a loaf per person!)
- 1 (1/4 ounce) package yeast (regular or fast rising, I prefer Red Star)
- 1 teaspoon sugar
- 1/2 cup warm water
- 1 egg, beaten
- 1/2 cup melted lard
- 1/2 cup sugar
- 1 1/2 teaspoons salt
- 2 cups warm water
- 8 cups flour, plus a little extra for kneading
- Aunt Jane’s Krazy Mixed Up Salt
- Combine yeast, 1/2 C water (105-115 degrees) and 1 t. sugar in bowl and allow to proof. (Until foamy, approximately 5 minutes, or about 10 for standard yeast.).
- Add egg, melted (but not hot) lard, salt and remaining sugar and water (105-115 degrees).
- Add 4 cups flour and beat (with a spoon or mixer) for one minute. Stir in remaining flour one cup at a time, until dough pulls away from the sides of the bowl and can be handled.
- Turn out on a floured surface and knead until dough is smooth and pliable, about 10 minutes .
- Shape into a ball and place into a greased mixing bowl.
- Turn dough over so greased side is on top, cover with a tea towel and allow to rise in a warm place until doubled in size.
- (Approx. 1-1 1/2 hours for rapid rise yeast, 2 hours or so for standard yeast.) Punch dough down, turn it over in the bowl, and allow to rise again until almost doubled in size.
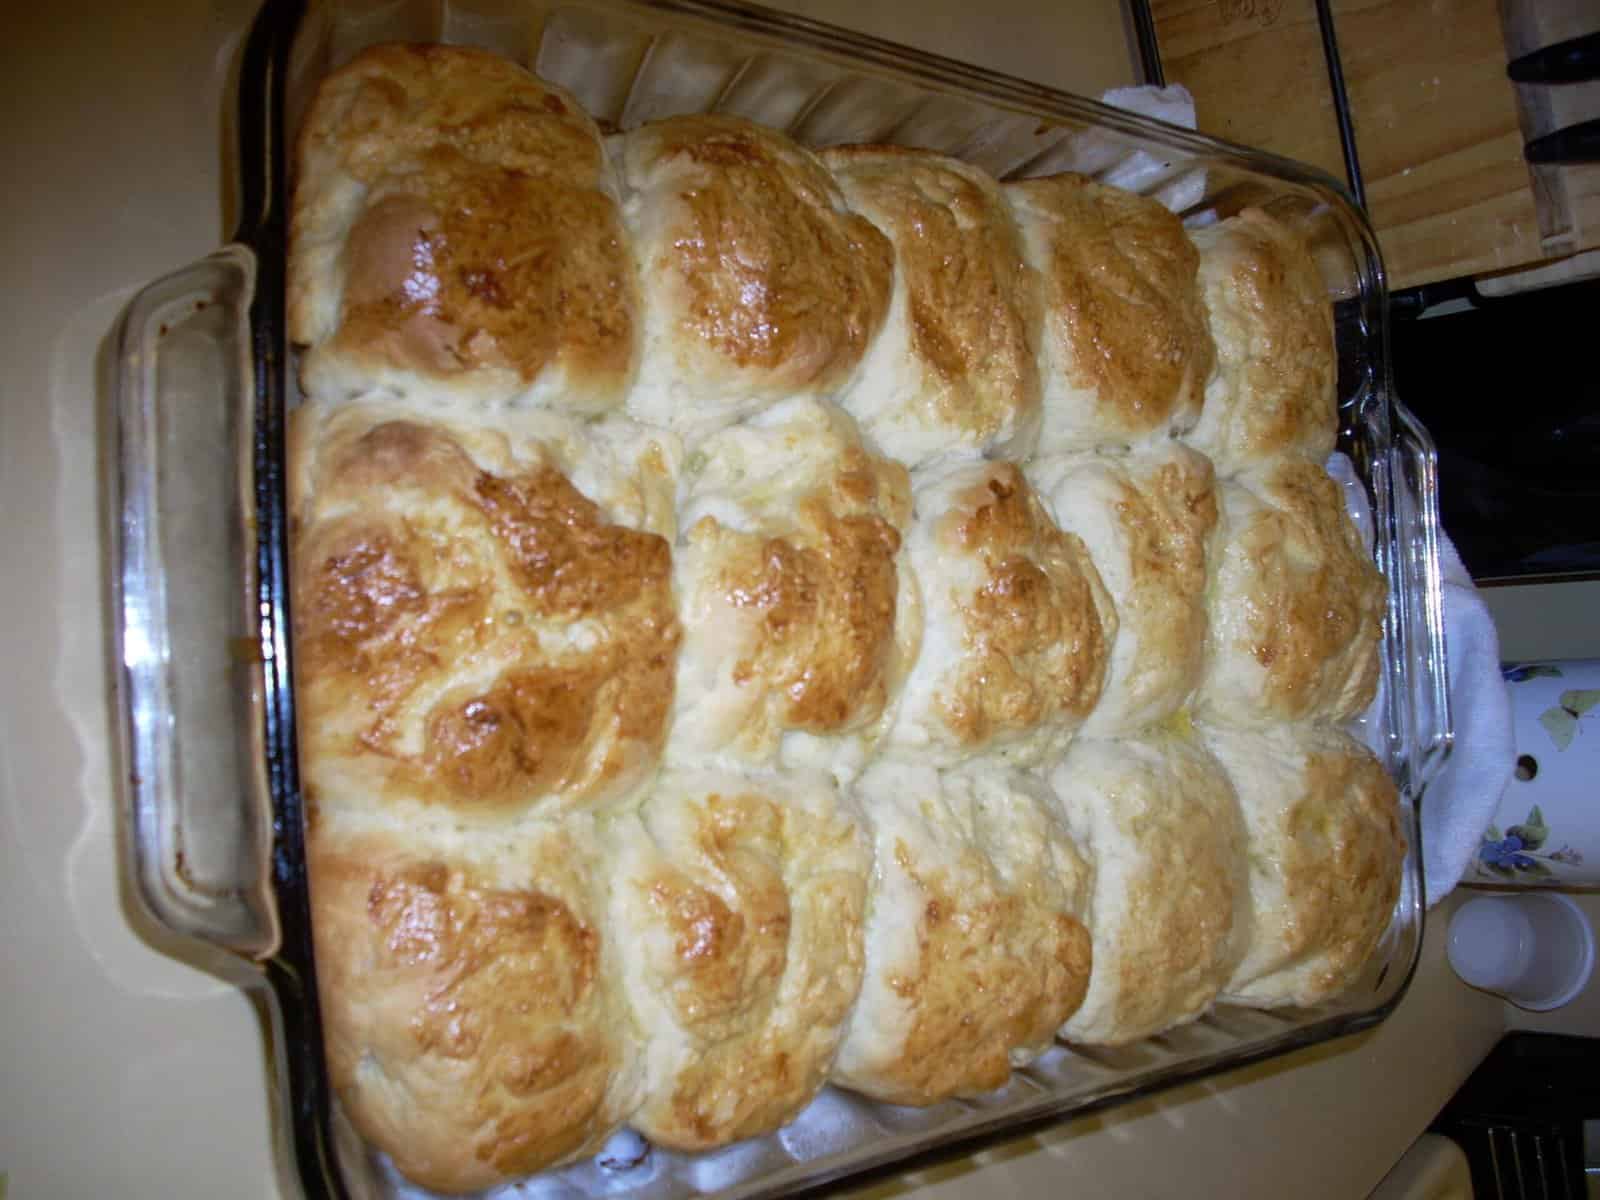
- Punch down and shape into 3 large loaves, or (I prefer) 4 braided loaves.
- (Cut dough into 12 equal pieces, roll each into a long rope and braid them into 4 loaves.) Allow loaves to rise.
- Brush with egg wash (1 egg, 1 t. sugar, 1 t. water) or milk, if desired, and sprinkle with Aunt Jane’s salt.
- Bake in 375°F oven for approximately 17 minutes. (braids) or 30-40 minutes (loaves) until brown on the outside and sounds hollow when tapped.
[custom-related-posts title=”Recommended Recipes Just For You” none_text=”None found” order_by=”date” order=”ASC”]