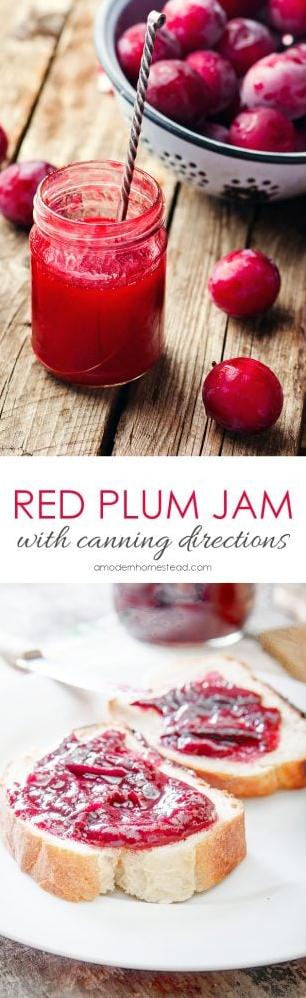
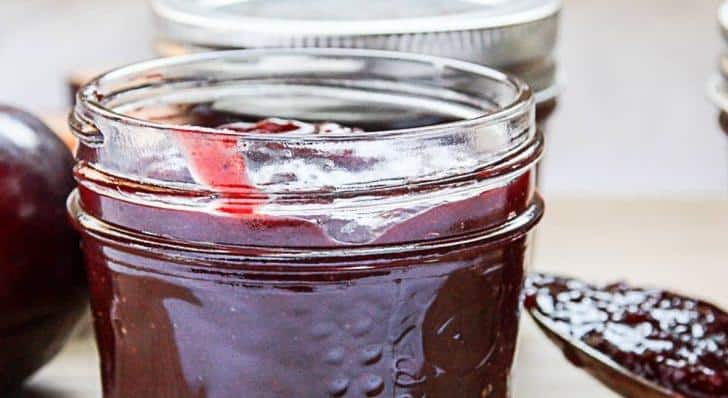
Perfect Plum Jam Recipe for Your Breakfast Toast
Welcome to my recipe for homemade plum jam with canning directions! There’s nothing quite like the sweet and tangy taste of ripe plums in a jam, and with this recipe, you’ll be able to enjoy it all year round. Making your own plum jam is easy and satisfying, and canning it means you’ll always have a jar on hand for toast, scones, or even as a glaze for meats. Trust me, once you try this recipe, you’ll never go back to store-bought jam again. Join me in the kitchen and let’s get started!
Why You’ll Love This Recipe
Are you looking for a simple and delicious way to enjoy the sweet and juicy flavor of ripe plums all year round? Look no further than this easy plum jam recipe! With just a few simple ingredients and easy-to-follow instructions, you can make your very own homemade plum preserves that are perfect for spreading on toast, drizzling over ice cream, or even adding to your favorite savory dishes.
But what sets this plum jam recipe apart from the rest? For starters, it’s made with fresh, ripe plums that are bursting with flavor and sweetness. Plus, a hint of cinnamon adds a warm and cozy touch to this spiced plum jam that is sure to delight your taste buds. And with the option to make a low-sugar or no-pectin version, this recipe can be tailored to fit your dietary needs and preferences.
But the benefits of making your own plum jam don’t stop there. Homemade jam is a great way to reduce food waste and make the most of your seasonal produce. Plus, it makes for a thoughtful and delicious gift that your friends and family are sure to appreciate.
So why not give this easy plum jam recipe a try and see for yourself why it’s sure to become a staple in your kitchen? With its sweet and tangy flavor, versatile uses, and simple preparation, you’ll wonder how you ever lived without it!
Ingredient List
Before you start making the plum jam, ensure you have all the necessary ingredients ready. This recipe is easy and requires only a few ingredients that can be easily found in your local grocery store. Here’s what you’ll need:
Ingredients:
- 5 lbs of ripe plums
- 6 cups of sugar
- 1 cup of lemon juice
- 1 teaspoon of cinnamon (optional)
You’ll also need a large pot, a ladle, and mason jars with lids for storing the jam after canning. If you prefer spiced plum jam, add one teaspoon of cinnamon to the recipe. You can also use red plums if you prefer a darker and sweeter jam. Make sure you have enough ingredients to make multiple batches if you want to make a larger quantity.
The Recipe How-To
Now it’s time to turn those plums into a delicious jam! This recipe is relatively easy to follow and should yield around 6-7 jars of plum jam. Here’s how to make it:
Ingredients:
- 3 lbs. of ripe plums, pitted and chopped
- 6 cups of sugar
- 1 cup of lemon juice
- 1 tsp of cinnamon (optional)
Instructions:
-
Prepare your jars and lids. Before you start, you will need to sterilize your mason jars and lids. You can do this by boiling them in a large pot of water for 10 minutes. Make sure they are completely dry before you start filling them with jam.
-
Combine plums and sugar. In a large pot, combine your chopped plums and sugar together. Stir them well to make sure they are evenly mixed.
-
Heat and bring to a boil. Over medium heat, bring the mixture to a boil. Stir occasionally to prevent the mixture from sticking to the bottom of the pot.
-
Add lemon juice and cinnamon. Once the mixture reaches a boil, add in the lemon juice and cinnamon (if using). Stir well.
-
Boil for 30 minutes. Reduce the heat to low and let the mixture simmer for 30 minutes. Make sure to stir it occasionally to prevent burning.
-
Test for doneness. After 30 minutes, remove the pot from the heat and test the jam for doneness. To do this, place a spoonful of hot jam onto a cold plate and let it cool for a few minutes. If the jam wrinkles when you push it with your finger, it’s ready. If not, continue to simmer the jam for another 5-10 minutes and test again.
-
Ladle hot jam into jars. Once your jam is ready, ladle it into your sterilized jars leaving a ¼ inch of space at the top.
-
Process jars in water bath canner. Place the jars in a water bath canner and make sure they are covered with at least 1 inch of water. Bring the water to a boil and process for 10 minutes.
-
Remove jars and let them cool. After 10 minutes, remove the jars from the water bath canner and let them cool on a towel on your countertop. Make sure not to touch or move them until they are completely cool.
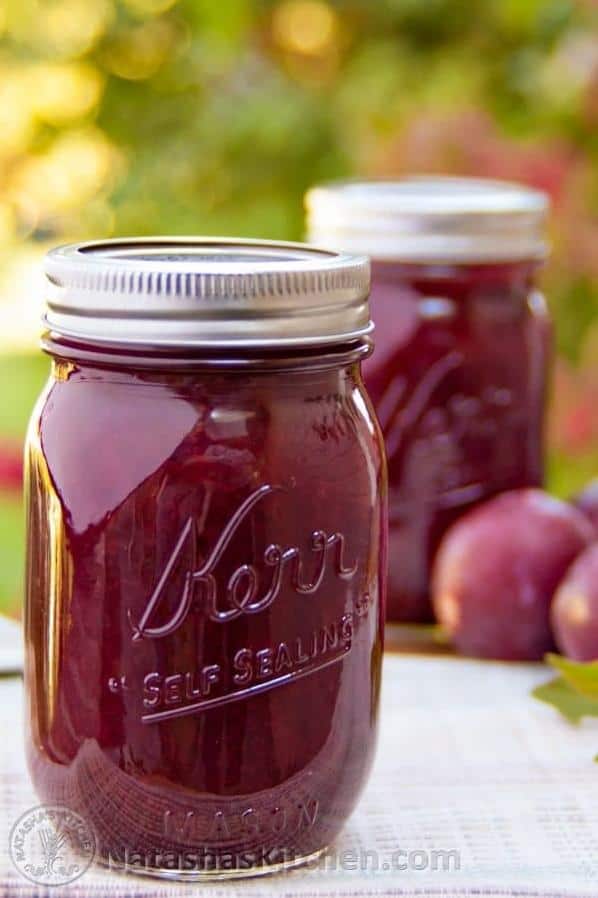
Congratulations, you have just made homemade plum jam!
Substitutions and Variations
This recipe is already delicious as it is, but there are some substitutions and variations that you can try to create your own unique version of plum jam.
– Spice it up: If you want to add more flavor to your plum jam, try adding a pinch of cinnamon. This will give your jam a warm, spicy flavor that goes well with the sweetness of the plums.
– Lemon or lime: If you don’t have lemon juice on hand, you can substitute it with lime juice. It will give your jam a slightly different flavor, but it will still taste great.
– Sugar: You can adjust the amount of sugar used in the recipe to suit your taste. If you prefer a sweeter jam, add more sugar. If you want it less sweet, reduce the amount of sugar.
– Fruit: While this recipe calls for plums, you can also use other fruits like peaches, nectarines, or apricots. Just make sure to adjust the sugar and lemon juice accordingly, as the sweetness and acidity may vary.
– No pectin: This recipe uses lemon juice as a natural pectin to help thicken the jam. However, if you don’t have lemon juice or want to make the jam without pectin, you can still achieve a thicker consistency by cooking the jam for a longer time.
– Low sugar: If you’re watching your sugar intake, you can make a low sugar version of this recipe by reducing the amount of sugar used. You can also use a sugar substitute like stevia or honey, although this will affect the flavor and texture of the jam.
– Freezer jam: If you don’t want to go through the canning process, you can make freezer jam instead. Simply follow the recipe as written, but instead of canning the jam, transfer it to airtight containers and store in the freezer. This jam will last for several months in the freezer and doesn’t require any special equipment.
Serving and Pairing
I love to serve this delicious plum jam on a slice of warm, crusty bread or a toasted bagel. The jam has a perfect balance of sweetness and tartness that pairs well with a variety of breakfast foods.
If you’re feeling adventurous, try pairing this plum jam with some tangy cheeses like goat cheese or brie. The sweetness of the jam will complement the richness of the cheese, creating a flavor explosion in your mouth.
For a more indulgent treat, spread some of this plum jam on top of a scoop of vanilla ice cream. The warm, fruity notes of the jam go perfectly with the cold, creamy texture of the ice cream.
If you’re looking for a quick and easy appetizer, try topping some crackers with a spoonful of this plum jam and a slice of prosciutto or salami. It’s a simple yet sophisticated snack that’s sure to impress your guests.
No matter how you serve it, this plum jam is sure to be a hit. Its versatile flavor profile makes it a great addition to any meal or snack.
Make-Ahead, Storing and Reheating
Once you have made a batch of this delicious plum jam, you can store it in the fridge for up to three weeks or freeze it for up to six months. To freeze, simply ladle the hot jam into mason jars, leaving at least ½ inch of headspace to allow for expansion during freezing. Seal the jars tightly and let them cool to room temperature before placing them in the freezer.
To reheat the jam, simply remove the desired amount from the fridge or freezer and let it come to room temperature. Alternatively, you can warm it up in a saucepan on low heat, stirring occasionally until it reaches your desired consistency.
If you plan on canning the plum jam, make sure to follow proper canning instructions to ensure its shelf life. The hot jam should be ladled into hot jars, leaving ¼ inch of headspace. Wipe the rims clean and place the lids on top, tightening the bands until they are fingertip-tight. Place the jars in a water bath canner and make sure they are fully submerged in water. Process the jars for 10 minutes (adjust the time based on your altitude as per canning instructions), then remove them from the water bath and let them cool. Make sure the jars have sealed properly before storing them in a cool, dark place for up to a year.
Remember, when reheating or canning the jam, it’s important to use clean utensils and follow proper food safety guidelines to prevent contamination.
Tips for Perfect Results
To ensure perfect results, here are some tips to keep in mind when making plum jam with canning directions.
First, use ripe plums for the best flavor. If the plums are not fully ripe, the jam may lack the desired sweetness and flavor. Make sure to wash and remove the skin before chopping them into small pieces.
Second, when making the jam, make sure to stir frequently to prevent burning or sticking to the bottom of the pot. You don’t want a burnt jam, right?
Third, add a bit of lemon juice and cinnamon to the jam to enhance the flavor. The acidity in the lemon juice will also help preserve the jam.
Fourth, measure accurately. The ratio of plums to sugar is essential, so make sure to measure both ingredients precisely. Also, use a large pot to prevent the jam from boiling over.
Fifth, use a water bath canner to process the jars correctly. The water bath method will help seal the jars tightly, ensuring that the jam will last for up to a year.
Sixth, don’t overcrowd the jars when canning. Leave some space at the top to allow for expansion during processing.
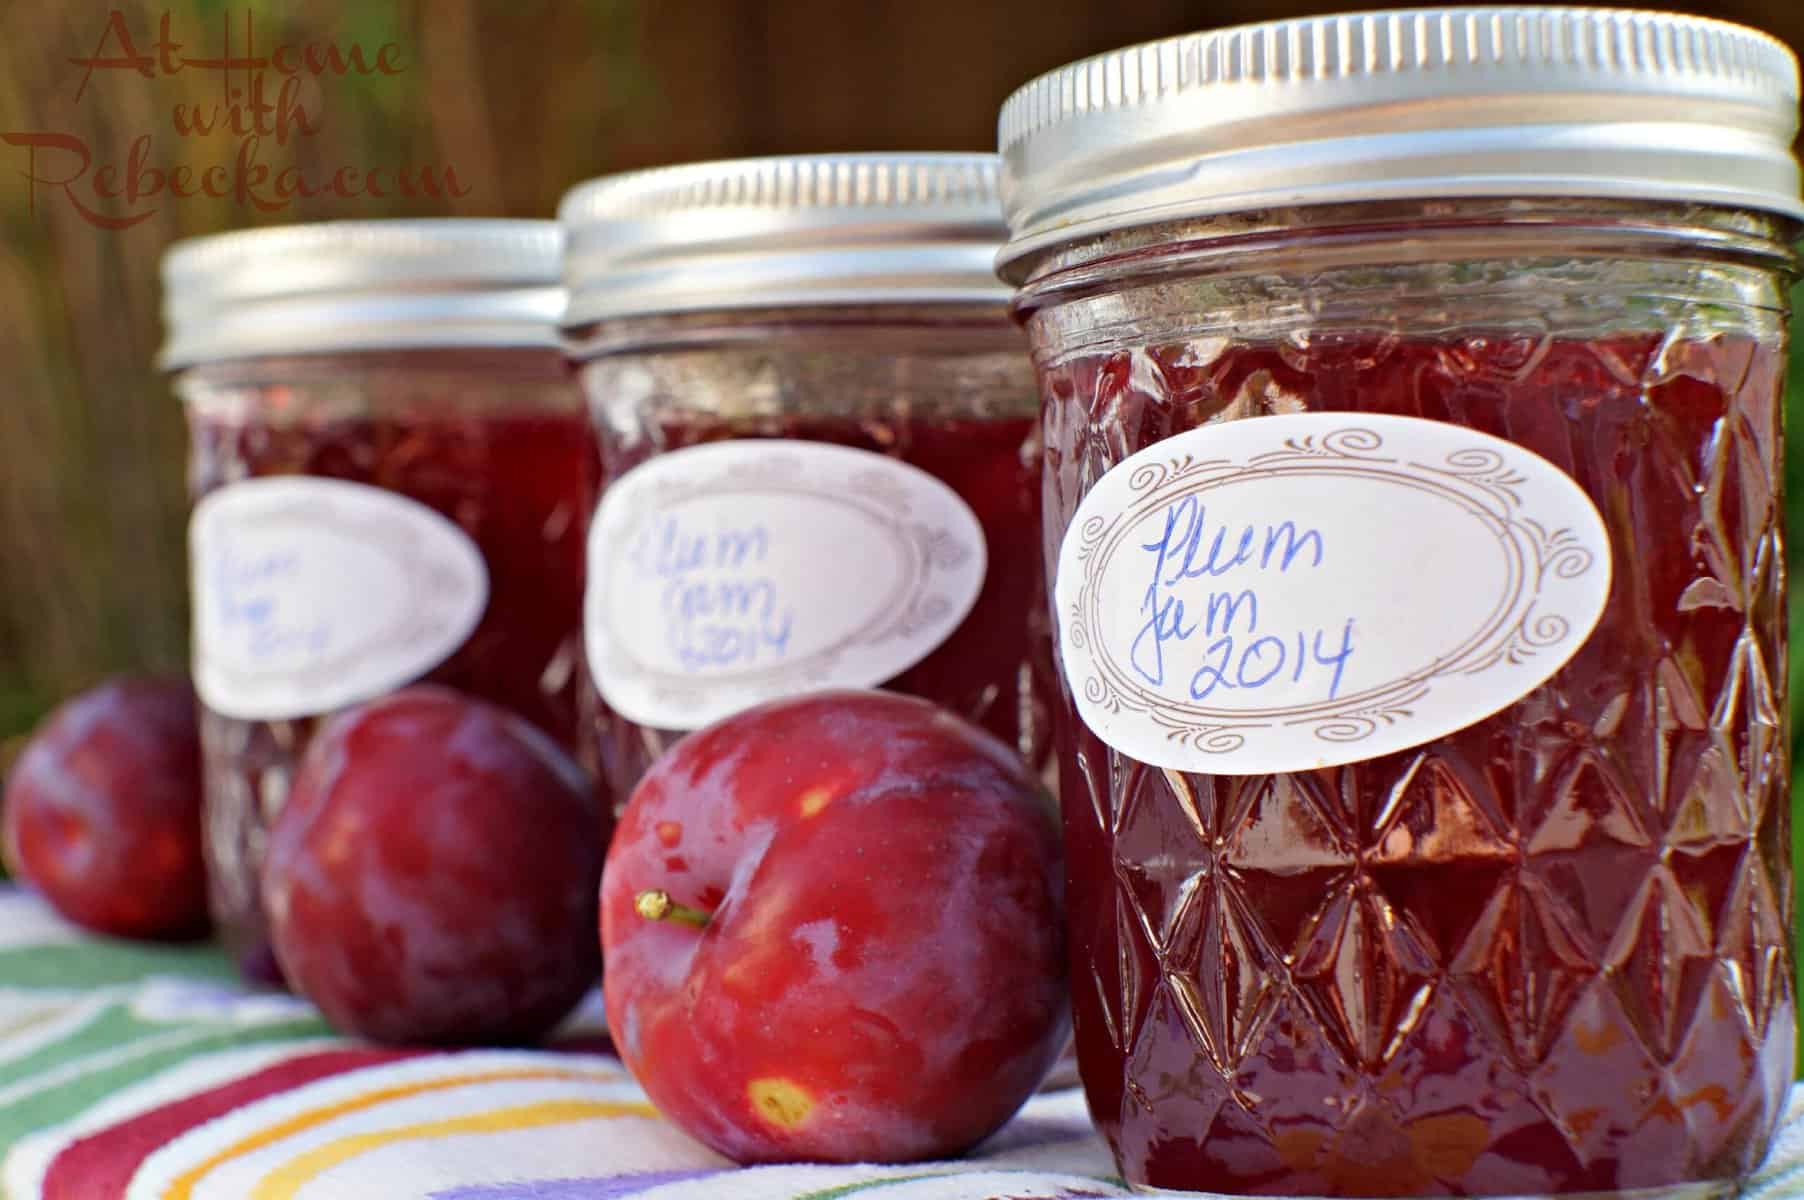
Seventh, label the jars with the date and type of jam. This will help you keep track of the expiration date and prevent confusion when looking for a specific type of jam.
Finally, store the jam in a cool, dry place away from direct sunlight. If stored correctly, the jam should last up to a year.
By following these tips, you can make perfect plum jam with canning directions that will last for a long time.
FAQ
As a chef, I know that when it comes to making jam, there are always questions that need answers. That’s why I’ve compiled this list of frequently asked questions and their answers to help you make the perfect plum jam every time. So, let’s dive in!
How do you process plums for canning?
Alright, let’s get these plums ready for canning. First things first, we need to slice them in half. Once that’s done, we’ll move on to hot packing them. That means dropping the prepared plums into a pot of boiling syrup and letting them cook for a couple of minutes. After that, turn off the heat and let them sit for a bit to get nice and hot. This step is important because it ensures that the plums are fully cooked and ready for canning. Once they’re heated through, we can start packing them into our jars. Whether you’re using raw or heated plums, make sure the jars are nice and hot before you start filling them up.
Do you remove skin from plums before making jam?
When it comes to making jam, plums are a fantastic choice of stone fruit. One of the reasons for this is that their skin contains pectin, a natural thickening agent that helps the jam set perfectly without needing to remove the skin.
How do you make jam for canning?
Alright, let’s start off by prepping the fruit. Give it a good wash and chop it up into small, even pieces. Now, it’s time to get those jars ready. Make sure they are squeaky clean and sanitize them by boiling them for a few minutes.
Once your fruit is ready and your jars are prepped, it’s time to start cooking. Bring the fruit to a boil and then let it simmer until it sets. Be sure to stir it occasionally to prevent sticking and burning.
When the jam has reached the perfect consistency, it’s time to fill up those jars. Make sure they are still warm and carefully pour the hot jam in. Leave a little bit of space at the top to prevent any overflow.
Now, it’s time to seal those jars up tight. Put the lids on and process them in a water bath for a few minutes. This will ensure that they are properly sealed and ready to enjoy.
And there you have it, a delicious homemade jam that will have your taste buds dancing.
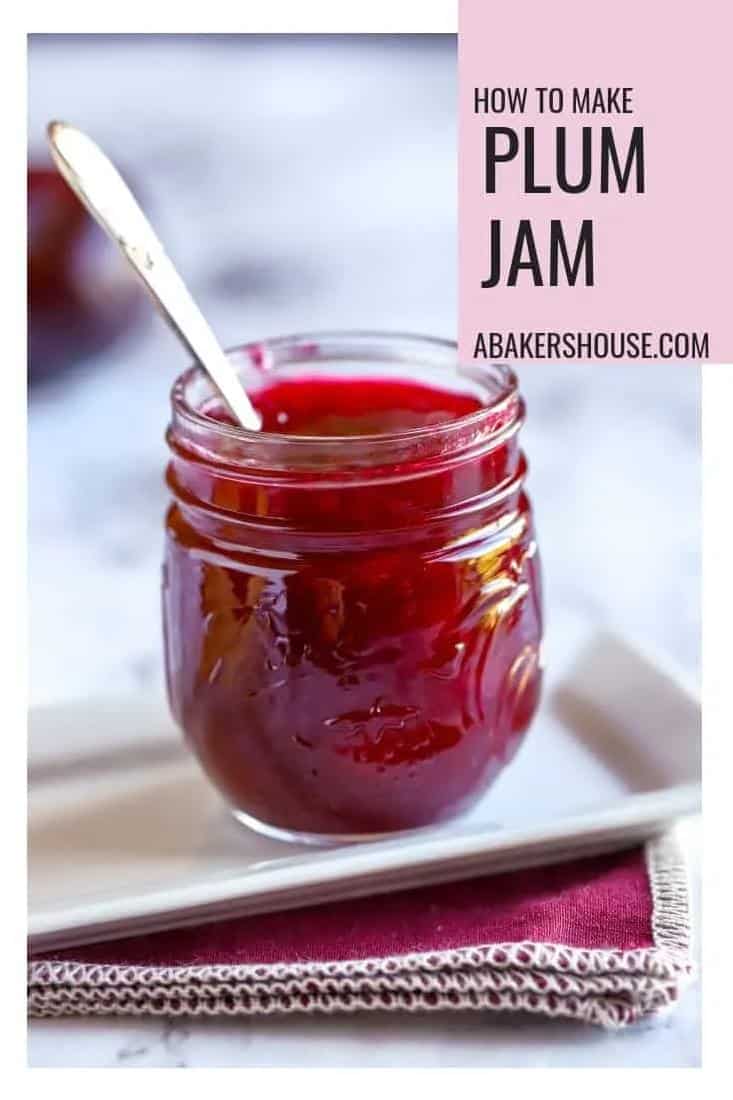
Bottom Line
In conclusion, making your own plum jam with this recipe is not only easy but also rewarding. With a few simple ingredients and the right canning instructions, you can enjoy the taste of fresh and homemade plum jam all year round. Whether you opt for the classic recipe or choose to add your own variations, this plum jam is sure to delight your senses and impress your taste buds. So, what are you waiting for? Get your hands on some fresh, ripe plums and start making your own delicious, homemade plum jam today!
Plum Jam W/Canning Directions Recipe

I’ve made this plum jam twice and it turns out great. I use fresh Japanese Santa Rosa plums from my yard. I use 8 oz. or half-pint canning jars. FYI, you can reuse jars, but not the lids. It helps to have canning jar tongs and a wide mouthed funnel. This recipe does not need pectin.
- 6 cups ripe plums, crushed
- 6 cups sugar
- 1/4 cup lemon juice
- 1 teaspoon cinnamon
- Wash and pit plums. Leave skin on.
- Crush plums in food processor, chopper, or blender. There may be some foam. It’s okay to have some fruit chunks.
- Stir the plums and sugar together in a deep, large pot and slowly (to reduce foaming) bring it to a boil at 220 degrees and boil for 15 -20 minutes.
- Skim off foam.
- While the plums are boiling, disinfect the canning jars and lids in boiling water. This will also help to soften the gel rim of the lids.
- Fill the jars to 1/4 inch from the top and seal tightly.
- Give the jars a 10-15 minute water bath in boiling water.
- Remove from the water and allow to cool overnight in a draft-free area. Jars should not be touching. You will hear the lids pop as they cool and seal.
- Test the seal in the morning. You should not be able to "pop" it up and down. If any jars do not seal, store in the fridge and use those first! (You can use a new lid and give it another water bath too.).
- Sealed jars should be good for 6 months to a year.
[custom-related-posts title=”Recommended Recipes Just For You” none_text=”None found” order_by=”date” order=”ASC”]