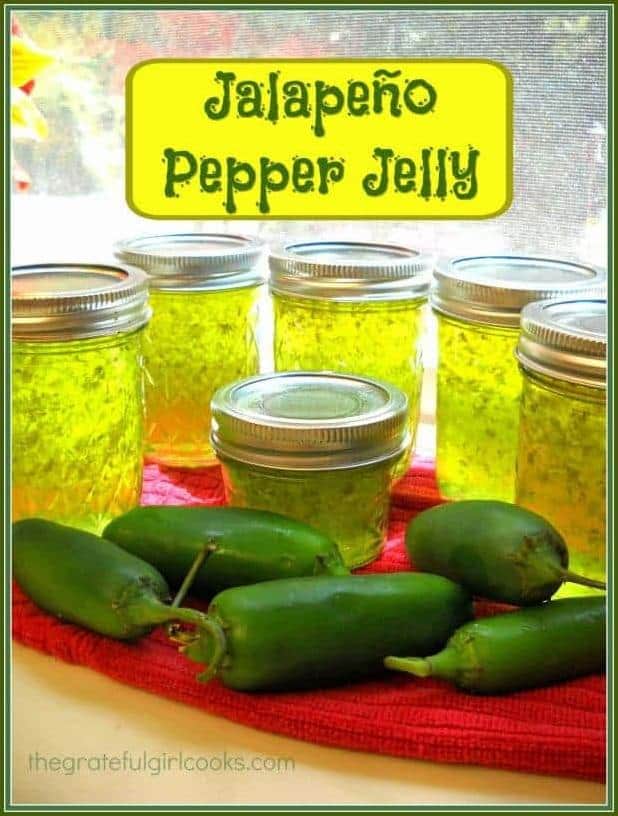
Spicy and Tangy Green Chili-Pepper Jelly Recipe
Welcome to my kitchen, where I’m always creating new and exciting recipes. Today, I’m excited to share with you my Green Chili-Pepper Jelly Recipe. This recipe is perfect for those who love sweet and spicy flavors. The combination of green bell peppers, green chili peppers, and a hint of cayenne pepper creates a sweet and spicy jelly that’s perfect for spreading on toast, crackers, or even as a glaze for meats.
Not only is this recipe delicious, but it’s also easy to make with just a few simple ingredients. You can even customize it to your liking by adding more or less of the peppers depending on your desired level of heat.
Trust me, once you try this green pepper jelly, it will become a staple in your kitchen. So, let’s get started and create this sweet and spicy masterpiece together.
Why You’ll Love This Recipe
Are you looking for a unique and delicious way to add some flavor to your morning toast or afternoon snack? Look no further than this Green Chili-Pepper Jelly recipe! Trust me, you won’t be able to get enough of the sweet and spicy combination that this jelly has to offer.
One of the reasons you’ll love this recipe is its versatility. It can be used as a glaze for meats, a topping for crackers and cheese, or even as a dip for your favorite snacks. The possibilities are endless! Plus, it’s easy to make and doesn’t require any special equipment or fancy ingredients.
Another reason why this Green Chili-Pepper Jelly is a must-try is the balance of sweet and spicy flavors. The combination of green bell peppers, green chili peppers, and cayenne pepper creates a sweet and spicy profile that is both satisfying and flavorful. It’s the perfect way to add some excitement to your everyday meals.
And let’s not forget about the nutritional benefits of this recipe. Green bell peppers and green chili peppers are packed with vitamins and antioxidants, making this jelly a healthy addition to your diet. Plus, it’s made with all-natural ingredients, so you can feel good about what you’re putting into your body.
Overall, this Green Chili-Pepper Jelly recipe is a must-try for anyone looking to add some excitement to their meals. With its versatility, delicious flavors, and health benefits, you won’t be disappointed. So why not give it a try and see for yourself why this recipe is a fan favorite?
Ingredient List
Here is a list of ingredients you’ll need to make this delicious green chili-pepper jelly recipe:
Green Chili-Pepper Jelly Ingredients:
- 1 cup finely chopped green bell pepper
- 1 cup roasted green chili peppers, chopped and seeded
- 1 ½ cup apple cider vinegar
- 5 cups sugar
- 3 tablespoons finely chopped jalapeño peppers, remove stems and leave seeds
- 1 tablespoon chili powder
- 1 teaspoon cayenne pepper
- 1 (3 ounce) pouch liquid pectin
- 1 teaspoon lemon juice
Equipment:
- Large saucepan
- Food processor or blender
- Canning jars and lids
These ingredients are all easily accessible and affordable. You can find the green bell pepper, green chili peppers, and jalapeño peppers in your local market. The apple cider vinegar, sugar, and pectin can also be found in the baking section of any grocery store. You will also need a large saucepan, food processor or blender, and canning jars and lids.
The Recipe How-To
Step 1: Preparing the Green Peppers and Chilies
To start this Green Chili-Pepper Jelly Recipe, I prepare the green bell pepper and green chili peppers. I wash and remove the stems, seeds, and membranes from the green bell pepper and the green chilies. Then, I chop them into small pieces using a food processor or blender.
Step 2: Cooking the Pepper Mixture
Next, I combine the chopped green peppers, green chilies, and 1 cup of apple cider vinegar in a large saucepan. I bring it to a boil then reduce the heat to a simmer. I let it cook for about 10 minutes until the green peppers are tender.
Step 3: Making the Jelly Mixture
After the peppers are tender, I remove the saucepan from the heat and let it cool for a few minutes. Then, I add 5 cups of sugar, 1/3 cup of lemon juice, and 1 teaspoon of cayenne pepper to the pepper mixture. I stir well until the sugar is completely dissolved.
Step 4: Boiling and Canning the Jelly
I return the saucepan to the stove and bring the pepper mixture to a rolling boil. I let it boil for 1 minute, then stir in 1 pouch of liquid pectin. I let it boil for another minute before removing it from the heat.
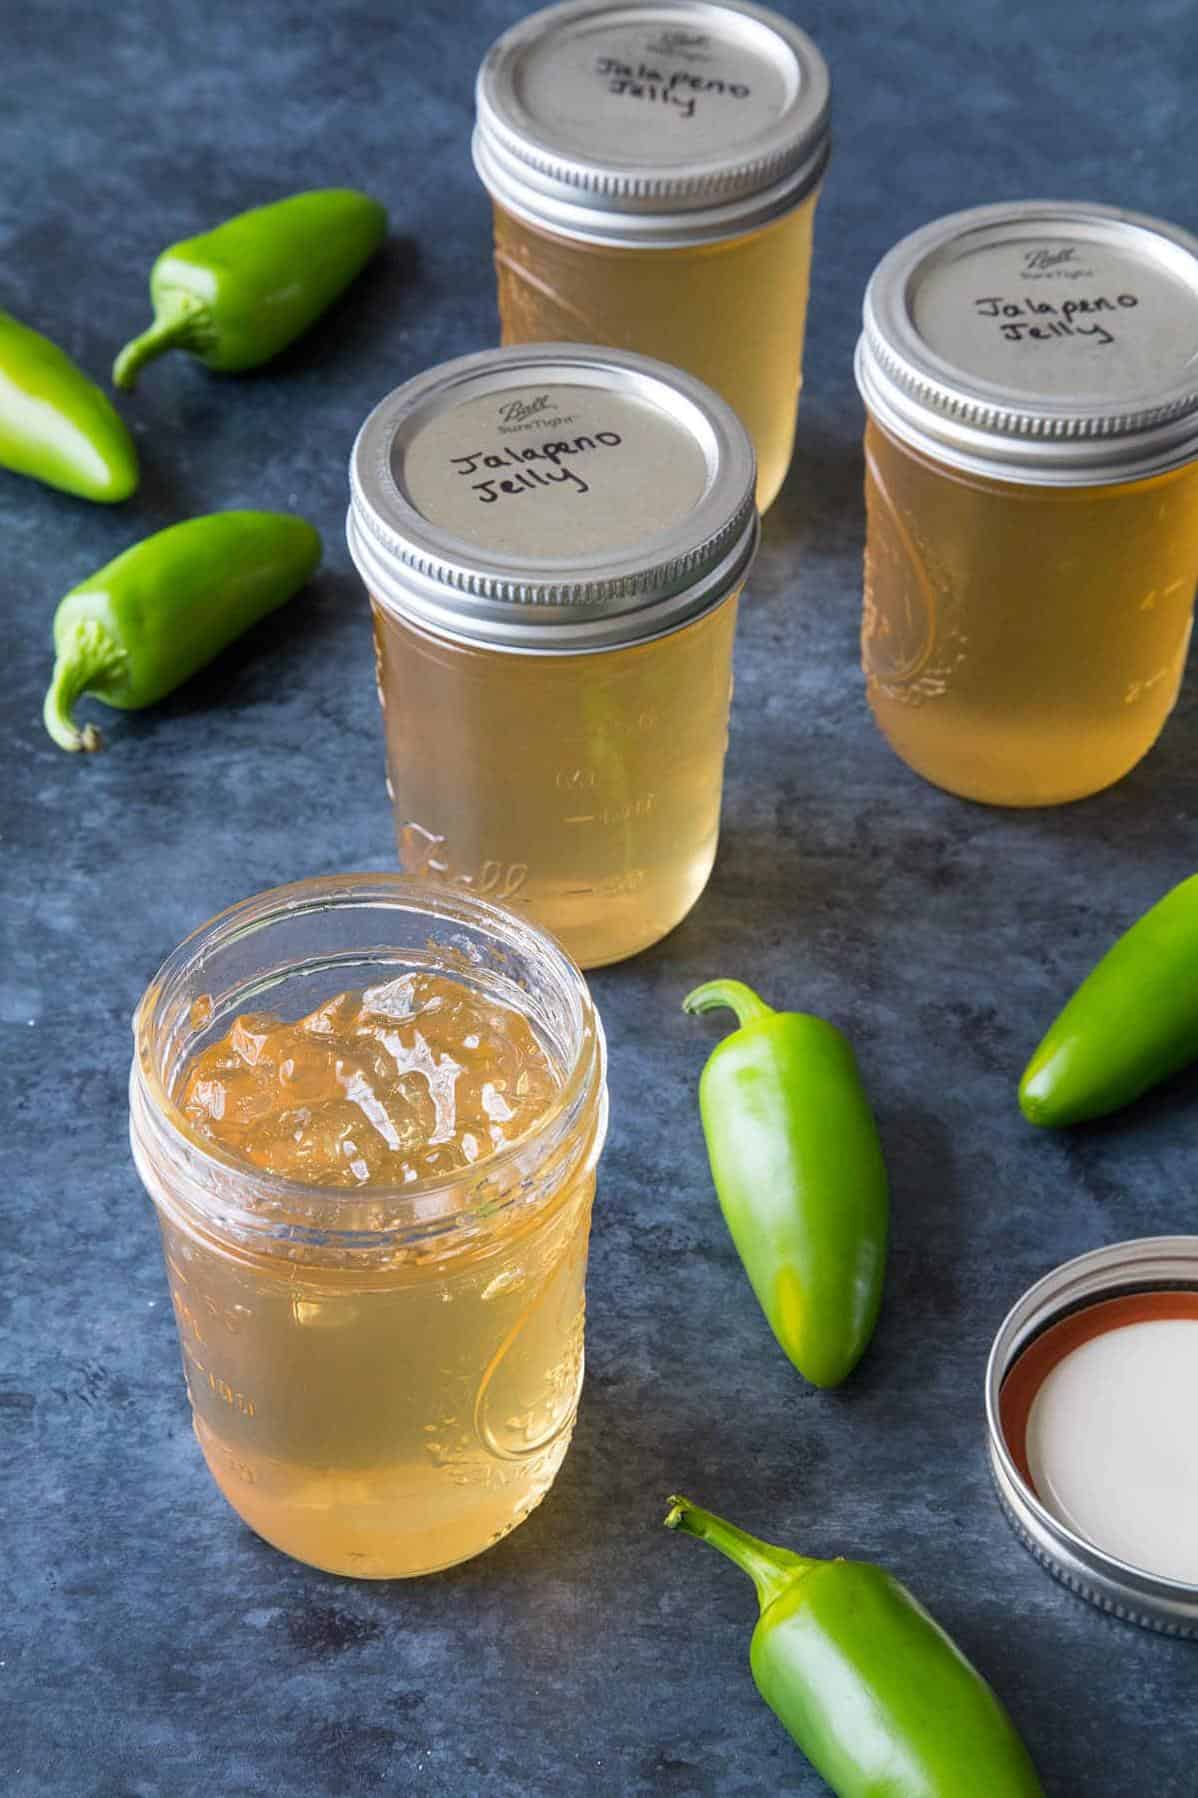
Next, I ladle the hot pepper jelly into hot, sterilized jars leaving a 1/4-inch headspace. I remove any air bubbles and wipe the rim clean before placing the lid and ring on it. I then process the jars in a boiling water canner for 10 minutes.
Step 5: Cooling and Setting the Jelly
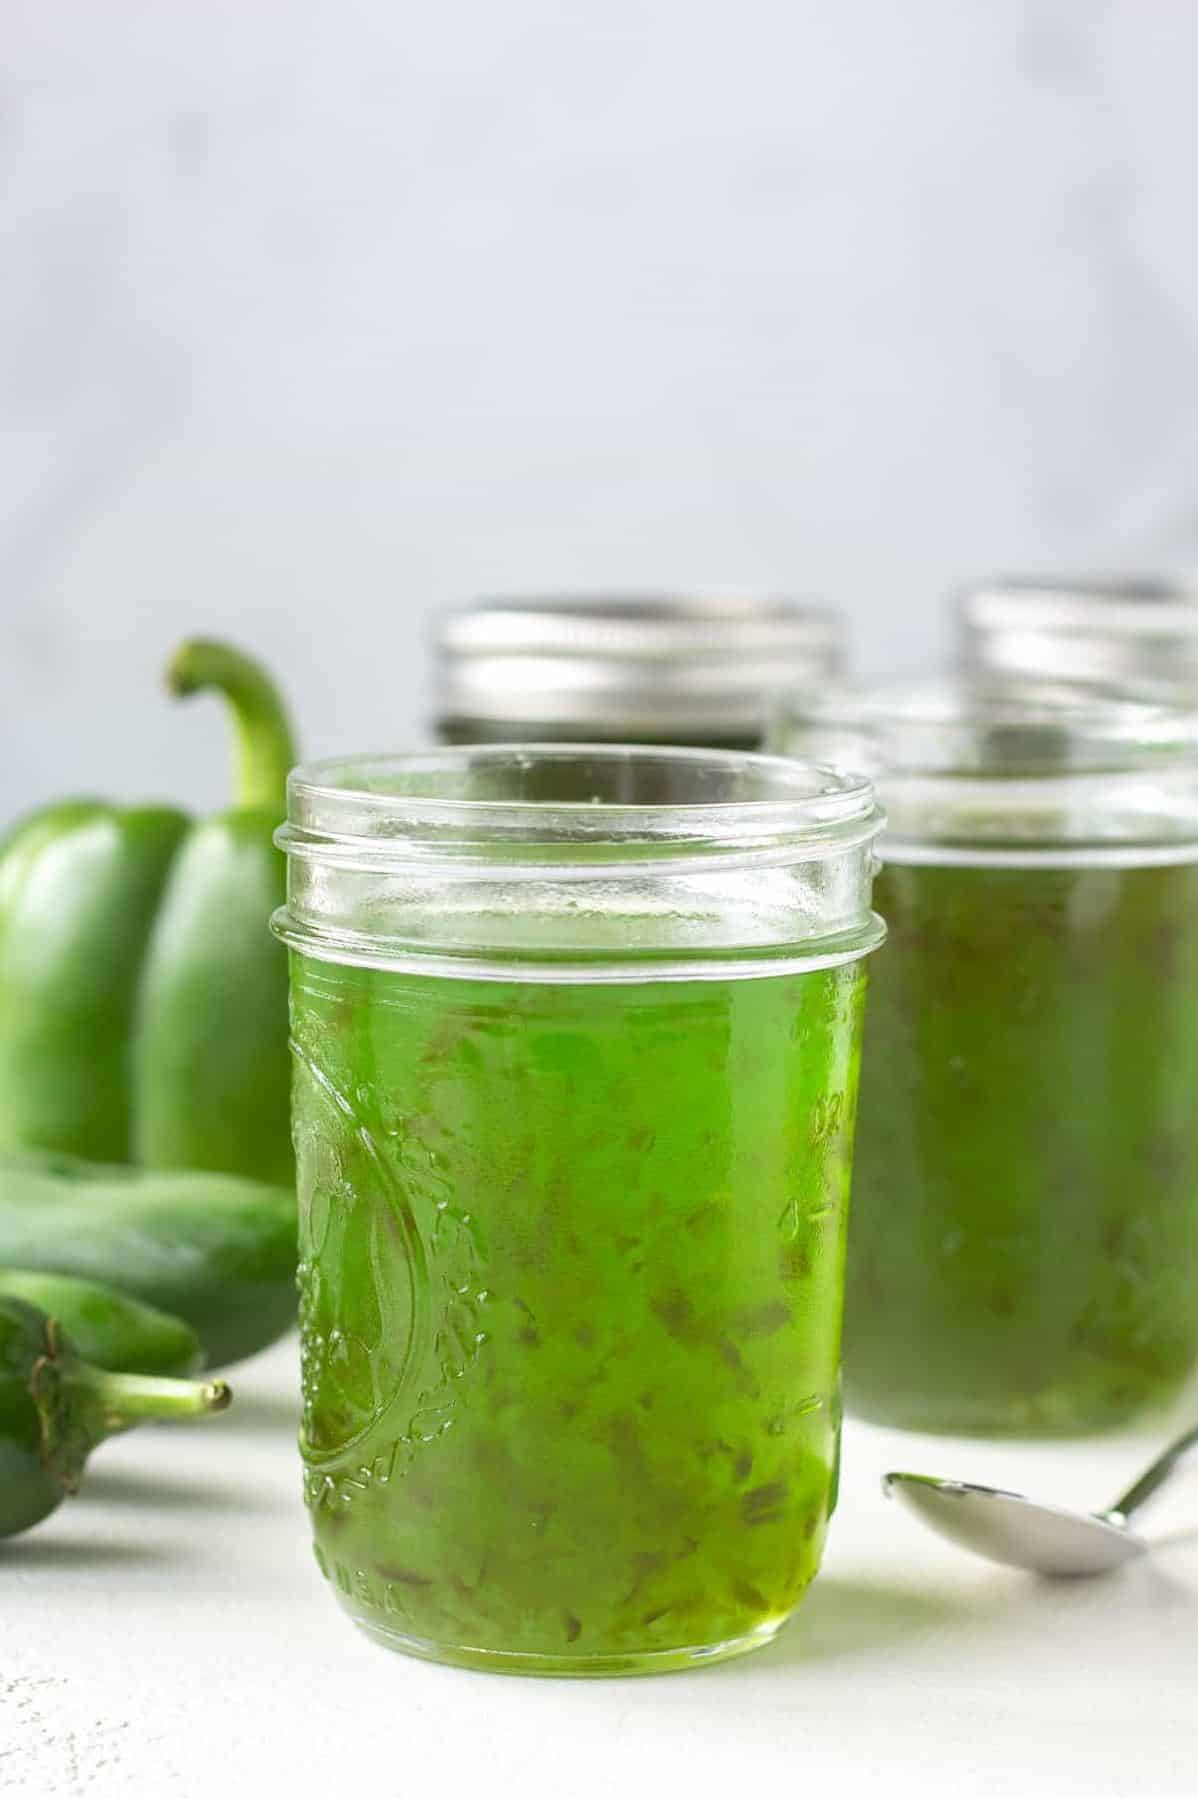
After processing, I remove the jars from the canner and let them cool to room temperature. As the jelly cools, it will start to set. This green pepper jelly usually takes about 24 hours to set completely.
Step 6: Enjoying the Green Chili-Pepper Jelly
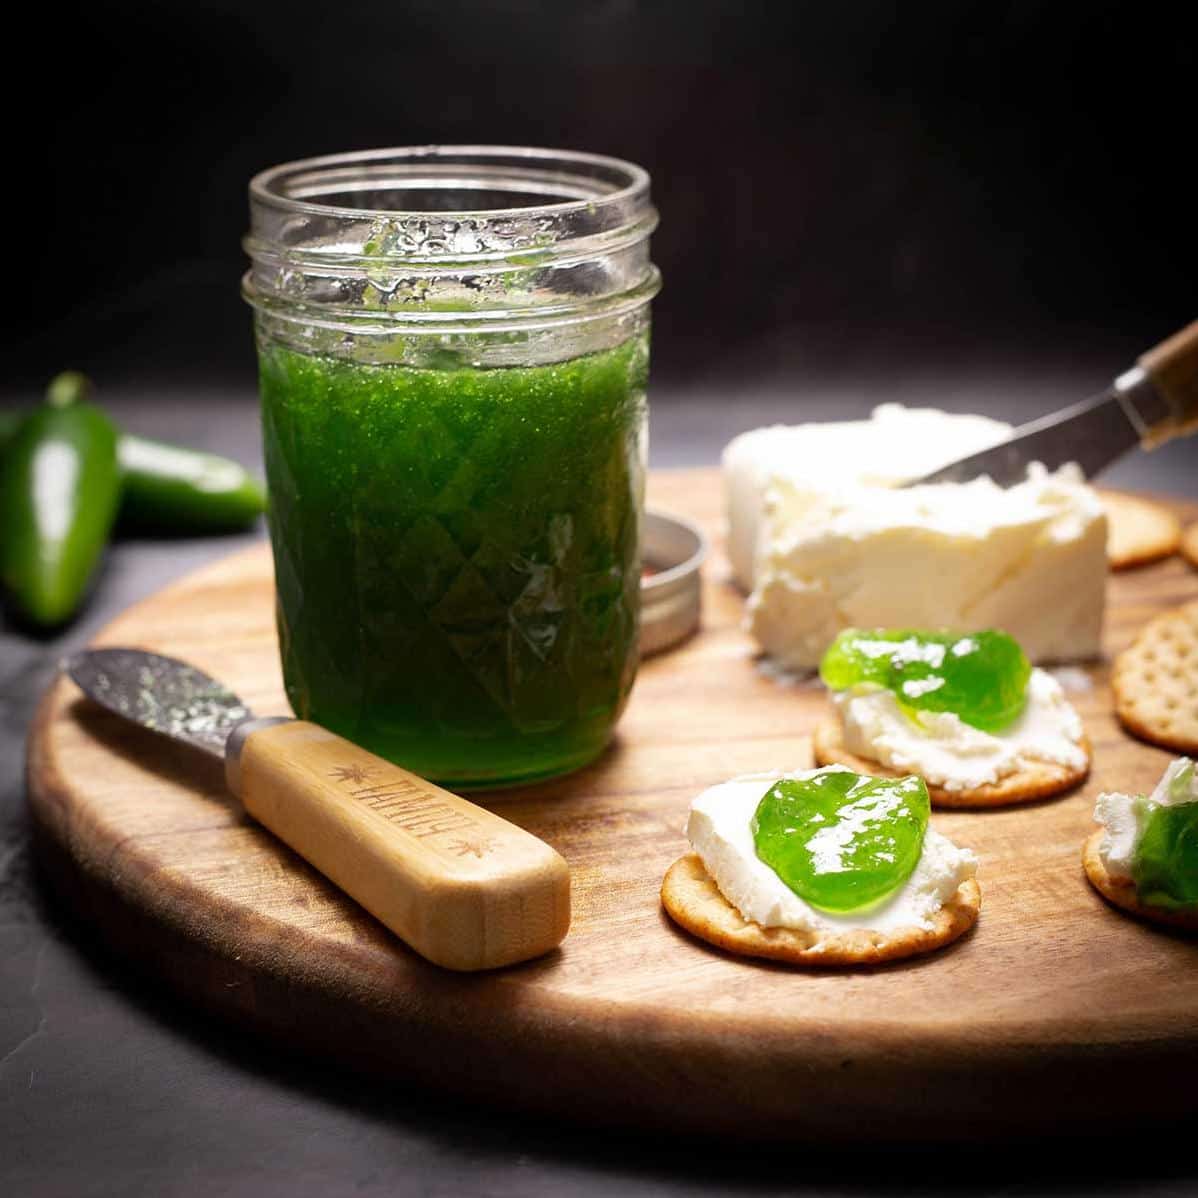
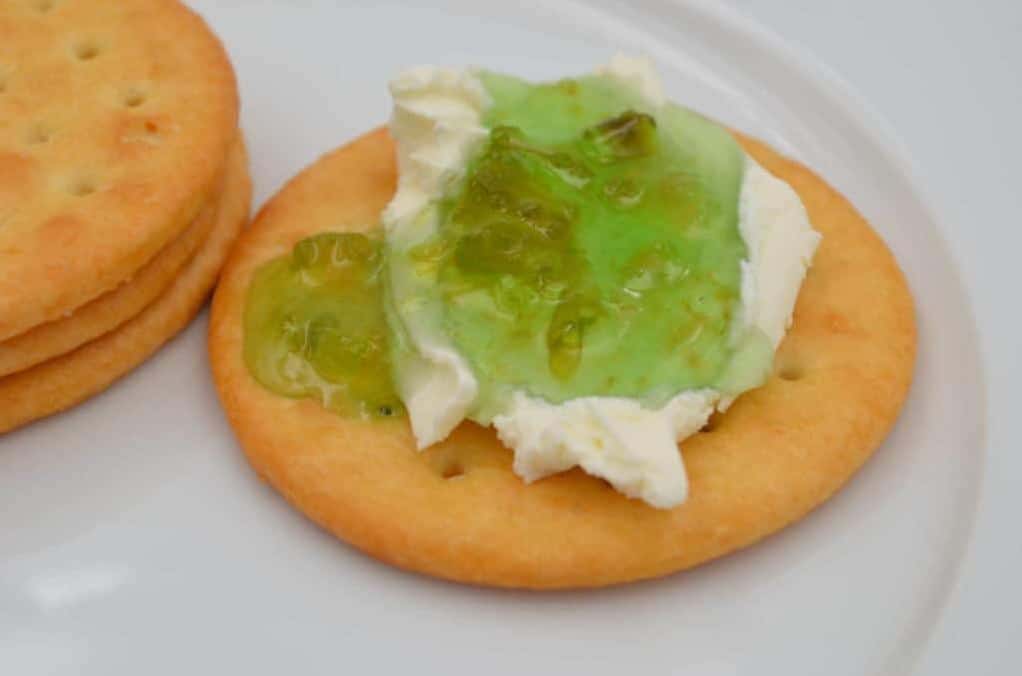
Once the jelly is set, it is ready to be enjoyed! I like to serve it with cream cheese and crackers as a delicious appetizer. It also makes a great glaze for meat, or as a sweet and spicy addition to a cheese board.
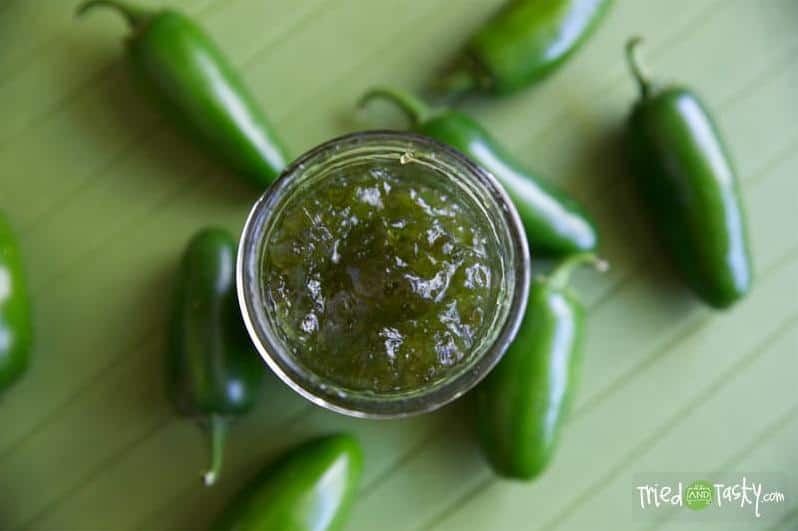
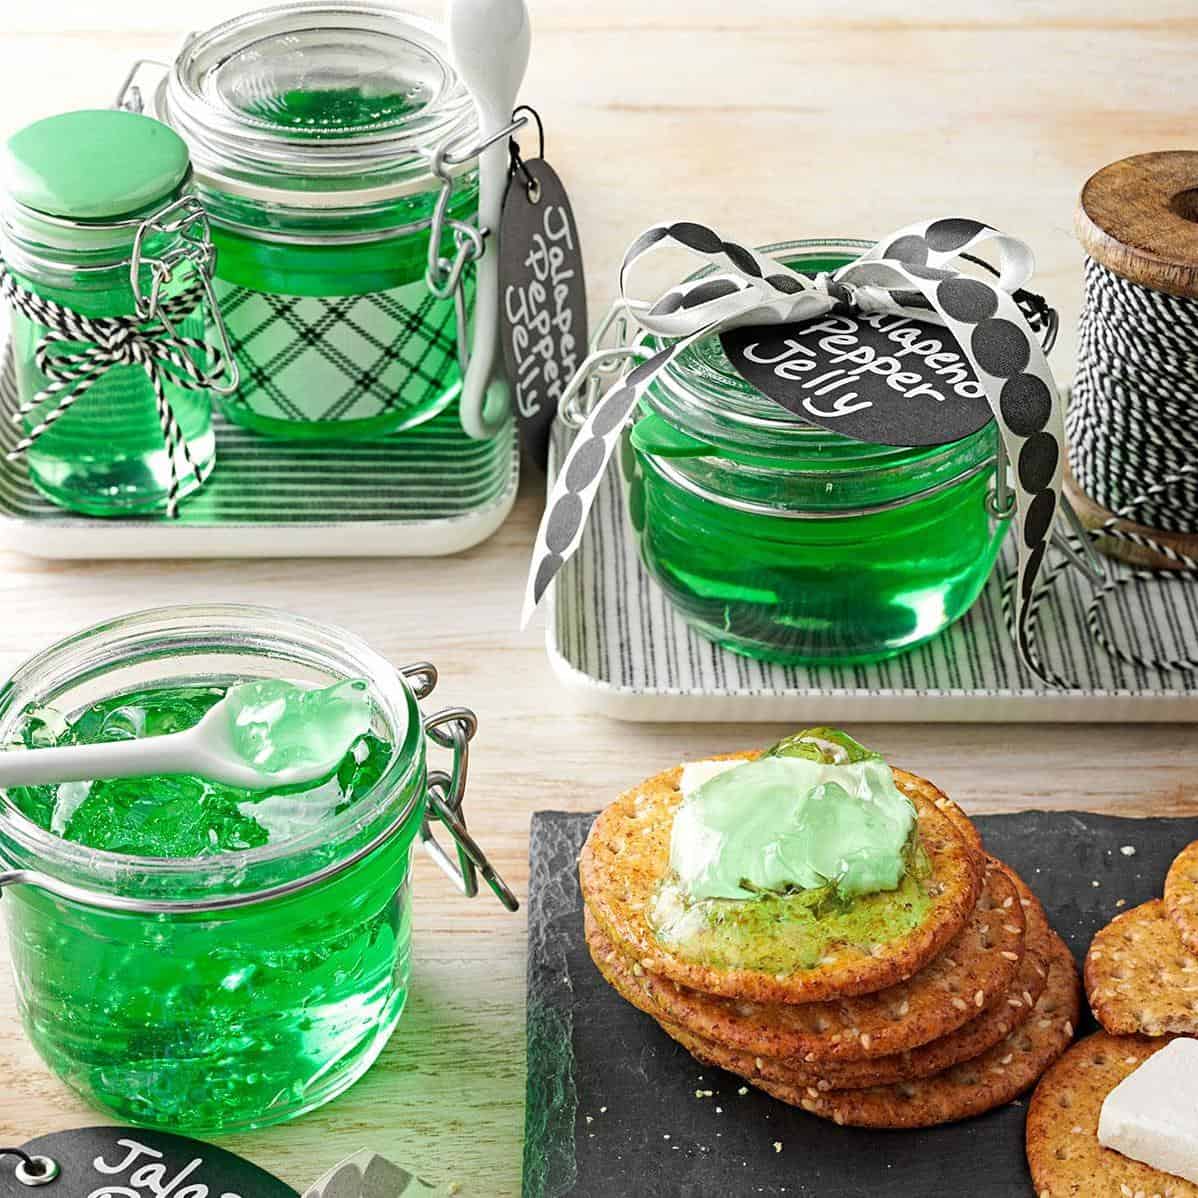
This homemade green chili pepper jelly is a perfect balance of sweet and spicy. The green bell peppers add a nice sweetness, while the green chilies provide a subtle heat. It is a great addition to any pantry and makes a great gift for friends and family.
Substitutions and Variations
If you’re looking to put your own spin on this green chili-pepper jelly recipe, there are a few substitutions and variations you can try.
First, you can adjust the heat level by using more or less hot peppers. If you prefer a milder jelly, try using only green bell peppers and omitting the hot peppers altogether. On the other hand, if you love spice, consider adding some cayenne pepper or extra jalapeño peppers to the mix.
You can also switch up the type of hot peppers you use. Instead of jalapeño peppers, try using serrano peppers or even habaneros for a truly fiery jelly. If you’re a fan of smoky flavors, you could also substitute roasted red peppers or chipotle peppers for the green bell peppers.
For a sweeter jelly, you can increase the amount of sugar in the recipe. Conversely, if you prefer a more tart jelly, you can add some extra lemon juice or reduce the amount of sugar.
If you want to make a larger batch of jelly, simply double or triple the ingredients. Just be sure to use a large saucepan and adjust the cooking time accordingly.
Finally, you can get creative with how you serve and pair your green chili-pepper jelly. It makes a delicious addition to a cheese board, pairs well with grilled meats or vegetables, and can even be used as a glaze for homemade jalapeño poppers. The possibilities are endless!
Serving and Pairing
Green Chili-Pepper Jelly is a versatile condiment that pairs well with a variety of dishes. Spread it on toast or crackers for a quick snack, or use it as a glaze for roasted meats or vegetables. It can also be used as a dip for cheese or grilled meat skewers.
For an easy appetizer, top cream cheese with a dollop of green chili-pepper jelly and serve with crackers or bread. The sweet-spicy flavor of the jelly pairs well with the creamy richness of the cheese, making it a crowd-pleaser at any party.
If you’re looking for a unique twist on a classic sandwich, try adding a spoonful of green chili-pepper jelly to a grilled cheese sandwich. The sweet and spicy flavors of the jelly complement the melted cheese perfectly.
Green chili-pepper jelly is also a great addition to a cheese or charcuterie board. Serve it alongside other sweet and savory treats like dried fruits, nuts, and cured meats.
When it comes to pairing drinks with green chili-pepper jelly, try serving it with a crisp white wine or a light beer. The acidity in the wine or beer helps balance out the sweetness of the jelly, making for a refreshing and satisfying combination.
Overall, green chili-pepper jelly is a versatile condiment that adds a sweet and spicy kick to a variety of dishes. Experiment with different pairings to find your favorite way to enjoy this easy homemade hot pepper jelly.
Make-Ahead, Storing and Reheating
Green chili-pepper jelly is a versatile and delicious condiment that can be made ahead of time and stored for later use. After preparing the jelly, allow it to cool to room temperature, then transfer it to an airtight container and refrigerate for up to 3 months. The jelly will continue to set and thicken over time, so it’s best to store it in a cool place.
When you’re ready to use the jelly, simply remove it from the refrigerator and let it come to room temperature before serving. You can also reheat the jelly in a small saucepan over low heat, stirring occasionally until it’s warmed through. The jelly will become liquid when heated, but it will set again as it cools.
If you plan to use the jelly for canning, it’s important to follow proper canning procedures to ensure safe storage. Use sterilized jars and lids, and process the jars according to the manufacturer’s instructions. Properly canned green chili-pepper jelly can be stored in a cool, dark place for up to 1 year.
This sweet-spicy jelly can also be used as a glaze for meats, a topping for crackers or toast, or as a spread for sandwiches. It pairs well with cream cheese and can be used to make a delicious jalapeno popper dip. Its versatility makes it a great addition to any pantry, and its easy homemade recipe means you can always have it on hand.
Tips for Perfect Results
When making Green Chili-Pepper Jelly, it’s important to follow the recipe instructions carefully to ensure that the jelly sets properly and has the right balance of sweet and spicy flavors. Here are some tips to help you achieve perfect results:
First, make sure to finely chop the green bell pepper and green chili peppers. This will ensure that the peppers cook evenly and release their flavors into the jelly. Using a food processor or blender can help with this step and save you time.
When cooking the pepper mixture, be sure to use a large saucepan to prevent the jelly from boiling over. Stir the mixture frequently to prevent it from sticking to the bottom of the pan.
When adding the sugar, cider vinegar, and lemon juice to the pepper mixture, make sure to mix them thoroughly to dissolve the sugar. This will help the jelly set properly and give it a smooth texture.
To test if the jelly has set properly, place a small amount on a spoon and let it cool to room temperature. If it holds its shape and doesn’t run off the spoon, then it’s ready to be canned.
When canning the jelly, be sure to follow proper canning procedures to ensure that the jars seal correctly and the jelly stays fresh. This includes sterilizing the jars and lids, using the correct amount of headspace, and processing the jars in a boiling water bath for the recommended amount of time.
Lastly, don’t be afraid to experiment with different variations of the recipe. You can try using different types of hot peppers, such as jalapeno or cayenne pepper, or adding spices like chili powder for extra flavor. You can also try pairing the jelly with different foods, such as cream cheese or as a glaze for meat dishes.
By following these tips and being creative with the recipe, you can create a delicious homemade Green Chili-Pepper Jelly that is perfect for any occasion.
FAQ
Before wrapping up this recipe article, let’s go through some frequently asked questions (FAQs) and address any concerns you may have regarding the green chili-pepper jelly recipe.
What can I do with green pepper jelly?
Looking to add some fiery flavor to your sandwiches and breakfast dishes? Consider spreading a generous layer of hot pepper jelly for an exciting twist. This versatile condiment pairs perfectly with a variety of ingredients, from gooey melted cheese to savory deli meats, and can be used to add some kick to classic dishes like BLTs and breakfast sandwiches. You can even mix it into mayonnaise to create a zesty aioli that will take your sandwiches to the next level. And don’t forget to try it on biscuits for a sweet and spicy treat!
Do you refrigerate green pepper jelly?
As a chef, I recommend boiling the mixture for a full minute while continuously stirring. Once done, carefully pour the hot liquid into sanitized jars and leave them to cool before sealing and storing in the fridge. If you notice small bits of pepper floating to the top, don’t worry, just give the jelly a stir while it cools to evenly distribute them. Once the jelly has cooled down, seal the jars and refrigerate them until ready to use. This will ensure that your jelly stays fresh and delicious for a long time.
What do you eat with green pepper jelly?
Pepper jelly is a highly adaptable condiment that can be paired with a variety of foods. Although it is commonly enjoyed with crackers and cream cheese, it can also enhance the flavor of main dishes, appetizers, and salads. Moreover, pepper jelly can be used as an ingredient in cooking, making it a versatile addition to any kitchen.
Why is there vinegar in pepper jelly?
In the jelly recipe, vinegar plays a crucial role in two ways. Firstly, since peppers have low acidity, they require acid to react with the pectin and sugar to help the jelly firm up. Without vinegar, the jelly may not set up as firm as desired. Secondly, the acid content in vinegar acts as a preservative, making the jelly safe for long-term storage when canned.
Bottom Line
In conclusion, this Green Chili-Pepper Jelly Recipe is an excellent addition to your recipe collection, especially if you are a fan of sweet and spicy flavors. With its perfect balance of sweet and heat, this jelly is sure to be a crowd-pleaser. It’s an easy homemade recipe that you can make in no time, and it’s perfect for gifting or serving at parties.
By using fresh ingredients and following the recipe instructions, you can create a delicious and flavorful jelly that will impress your guests or loved ones. Don’t be afraid to experiment with different substitutions or variations to make it your own. And if you have any questions or concerns, refer to the FAQ section for helpful tips and advice.
So, whether you’re looking for a tasty appetizer or a unique gift idea, this Green Chili-Pepper Jelly Recipe is definitely worth trying. With its versatility and delicious taste, it’s sure to become a favorite in your household. So, grab your ingredients, and get started on making this amazing homemade jelly today!
Green Chili-Pepper Jelly Recipe

- 2 long green chili peppers (about 4″)
- 1 medium green bell pepper
- 1 1/2 cups cider vinegar
- 5 cups sugar
- 1 teaspoon cayenne pepper
- 1/2 teaspoon green food coloring
- 3 ounces liquid pectin
- Rinse, seed and chop the chili peppers and bell pepper.
- In an electric blender, combine one-half cup of the vinegar, chili peppers and bell pepper.
- Process until liquefied.
- Pour into a large heavy saucepan or kettle.
- Use remaining cup of vinegar to rinse the blender; pour into kettle.
- Add sugar and cayenne pepper.
- Cook, stirring constantly, over moderate heat, to slowly bring mixture to boiling.
- Boil two minutes.
- Remove from heat and skim off foam with a metal spoon.
- Add green food coloring.
- Stir in pectin, mixing well.
- Pour into hot sterilized half-pint jars.
- Seal immediately with two-part lids.
- Process immediately in boiling water bath: five minutes at elevations from sea level to 1,000 feet; 10 minutes at elevations of 1,001 to 6,000 feet; and 15 minutes above 6,000 feet.
[custom-related-posts title=”Recommended Recipes Just For You” none_text=”None found” order_by=”date” order=”ASC”]